Hell Let Loose: Vietnam Classes & Roles Guide
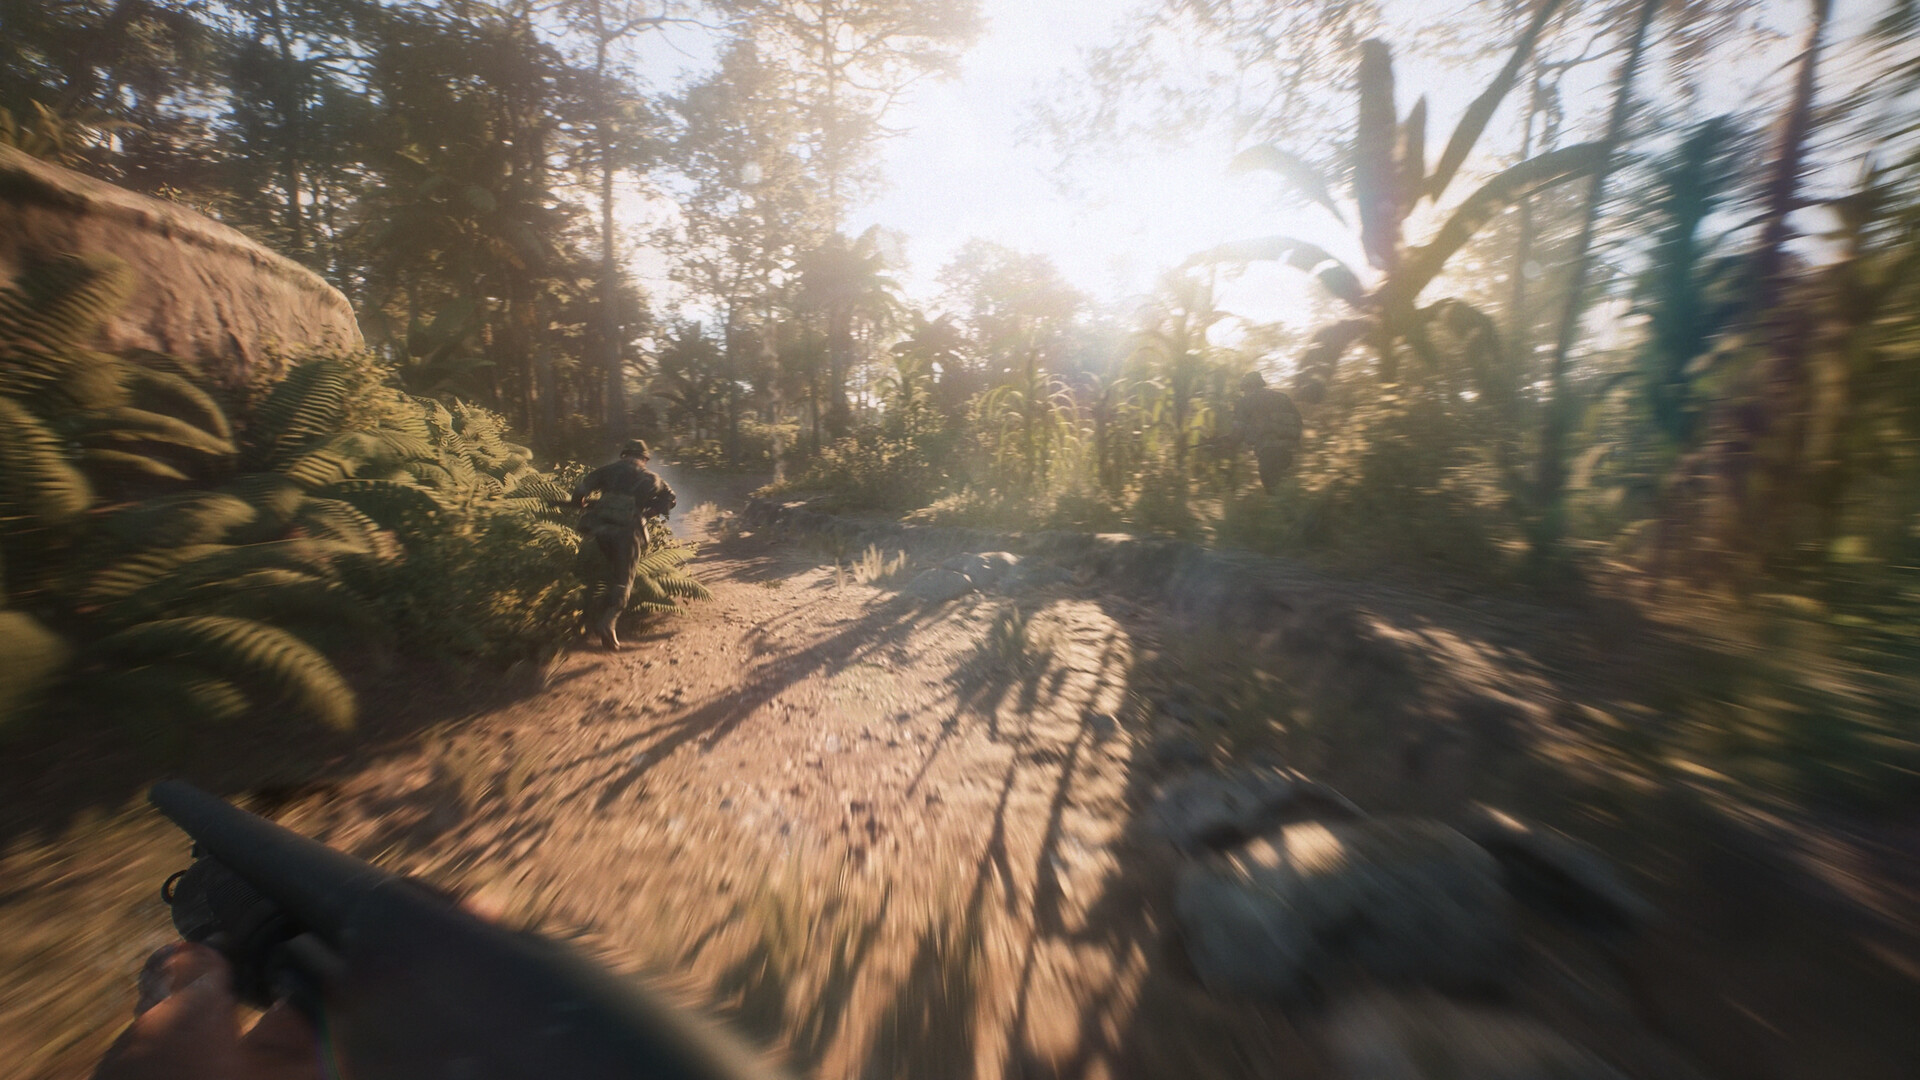
Classes Overview: 17 Roles Across 6 Units
This Hell Let Loose Vietnam classes guide covers all 17 specialised battle roles in the game — the complete Hell Let Loose Vietnam classes and roles reference, organised into six battlefield units: Command, Infantry, Recon, Armour, Mortar Squad and — for the US side only — Helicopter. Every Hell Let Loose Vietnam class has its own weapon loadout, equipment and responsibilities, and most unlock additional loadout options as you level the class up through play.
If you're new to the Hell Let Loose: Vietnam classes system, the fastest way to understand it: the Infantry roles are the backbone of the fight, the Commander and Squad Leaders run the chain of command, Recon and Mortar squads work behind the frontline, and Armour and Helicopter crews handle vehicles. New players should start in the Infantry unit and work outward.
Squad size and composition are capped: every squad holds up to six players, with per-squad class limits that include a maximum of one Specialist and three Riflemen per squad. If you want to change role, redeploy and pick a different class on your next spawn — swapping classes to cover what the squad needs is standard practice.
Quick Pick — Which Class Should You Play First?
Choosing a Hell Let Loose Vietnam class comes down to how you want to fight. Use this quick reference to find your starting role — every recommendation below is based on the class descriptions in this guide.
| You Want To… | Start With | Why |
|---|---|---|
| Learn the game with a simple, always-needed loadout | Rifleman | The role new players should pick first — simple loadout, carries the squad's ammo box, and every squad needs Riflemen at every cap point. |
| Lead a squad without the whole-map pressure | Squad Leader | Places spawns, marks targets and keeps the chain of command alive. Requires completing the tutorial to unlock. |
| Keep teammates alive and win close fights | Medic | Revives downed teammates and deploys medical supplies — squads with a good Medic win fights they had no right to win. |
| Hold ground and lock down sightlines | Machine Gunner | The M60's sustained fire pins squads and stops pushes — stay near your Rifleman's ammo box. |
| Destroy fortifications and vehicles | Grenadier | M79 + M72 give the squad demolition and one-shot anti-armour answers. |
| Play the Vietnam-specific mechanics | Pilot / Logistics Officer (US) or NVA Squad Leader | Helicopter insertions are US-only; the NVA's tunnel network is played through its Squad Leaders. |
US Army — Command & Infantry Roles
The US Armed Forces field their roles around the M16A1 rifle, with specialised equipment appearing on each class as it levels. All US infantry roles share the core utility kit — smoke grenades (M18), bandages and faction equipment — and add role-specific gear on top.
Commander (Command Unit)
The single Commander is the strategic brain of the team. They coordinate the chain of command, call in support abilities and manage team resources. The Commander is not expected to be at the frontline — they sit back with binoculars and the field pad, reading the map and directing squads. Squad Leader and Commander roles are locked until you complete their respective tutorials.
Weapons: M16A1, M1911A1, M16A1 Bayonet (Level 4), Model 77E shotgun (Level 7) · Equipment: M18 smoke, bandage, flares, field pad, M3 binoculars
Squad Leader (Infantry Unit)
The Squad Leader runs one infantry squad and is the vital link between the Commander and the frontline. They place outposts and garrisons, mark targets for the squad, and keep the chain of command alive. If you want to lead but aren't ready for the Commander's whole-map responsibility, Squad Leader is the role.
The Squad Leader is the tactical anchor of every infantry squad. Alongside placing spawns, they read the map, mark enemy positions and manage the squad's momentum — a good SL keeps the fight moving toward the objective instead of getting bogged down in firefights that don't matter. The role also carries the team's ammo and HE ammo boxes, so squads with an active SL never run dry mid-push.
Weapons: M16A1, M1911A1, M16A1 Bayonet, Model 77E · Equipment: ammo boxes, HE ammo boxes, field pad, binoculars, hammer
Rifleman (Infantry Unit)
The backbone role of every infantry squad. The Rifleman carries a standard M16A1 and the team's small ammunition box, keeping the squad supplied during prolonged fights. A reliable all-rounder for new players learning hell let loose vietnam classes.
Every squad runs on its Riflemen. The M16A1 handles both controlled semi-auto fire at range and full-auto bursts in close contact, and the small ammo box they carry keeps the Machine Gunner and Grenadier fed during extended engagements. It's the role new players should pick first — the loadout is simple, the job is clear, and the squad genuinely needs you at every cap point.
Weapons: M16A1, M1911A1, M16A1 Bayonet, M16A1-M203 grenade launcher (Level 10) · Equipment: small ammo box, hammer
Grenadier (Infantry Unit)
The Grenadier brings explosive firepower to the squad with the M79 grenade launcher and, at higher levels, the M16A1-M203. They also carry anti-tank mines and demolition charges, making them a flexible anti-infantry and anti-vehicle threat.
The Grenadier is the squad's demolition expert and the US answer to fortified positions. The M79 "Thump Gun" arcs 40mm rounds over cover and into windows, the M72 rocket gives the squad a one-shot answer to NVA armour, and the M21 anti-tank mines plus M183 demo charge make them invaluable for holding chokepoints. At Level 10 the M16A1-M203 combines rifle and launcher into one weapon, freeing a slot for more grenades.
Weapons: M16A1, M1911A1, M79 (Level 1), M72 launcher, Model 77E, M16A1-M203 · Lethal: M61 frags, M21 AT mines, M18 Claymores, M183 demo charge
Engineer (Infantry Unit)
The Engineer builds the team's structures: fortifications like bunkers, barricades and barbed wire, plus vehicle repair stations, ammo trailers and resource nodes that fuel the team's economy. Armed with a wrench, hammer and blow torch, they can also repair friendly vehicles mid-battle.
The Engineer shapes the battlefield before the fight even starts. They build the bunkers, barricades and barbed wire that turn a cap point into a fortress, deploy the vehicle repair station and ammo trailer that keep armour fighting, and place the resource nodes (Fuel, Munitions, Manpower) that power the entire team economy. On the move, the wrench and blow torch let them repair friendly vehicles under fire — an Engineer with the squad is the difference between a tank that dies to one RPG and a tank that fights all match.
Weapons: M16A1, M1911A1, M79 (Level 7), Model 77E, M16A1-M203 · Equipment: wrench, hammer, blow torch, mines, demo charges
Medic (Infantry Unit)
The Medic keeps the squad alive — reviving downed teammates and deploying medical supplies. In a 50v50 match, medics are what turn a squad that bleeds out into a squad that holds a cap point. You can also drag wounded comrades out of fire before reviving them.
In a 50v50 match, the Medic is what separates a squad that holds a cap point from one that bleeds out and loses it. They revive downed teammates, deploy medical supplies that let the squad self-heal, and can drag wounded soldiers out of open fire before reviving them — a mechanic unique to Vietnam that saves lives the old revive-in-place simply couldn't. Medics don't top the scoreboard, but squads with a good one win fights they had no right to win.
Weapons: M16A1, M1911A1, M16A1 Bayonet · Equipment: medical supplies, bandage, revive
Specialist (Infantry Unit)
The Specialist is the squad's utility carrier, deploying supplies for garrisons and structures while carrying anti-armour options like the M2A1-7 flamethrower (Level 7) and the M72 launcher. A strong pick for squads that need to build forward bases quickly.
The Specialist is the squad's forward supply base. They carry the supplies that Squad Leaders and Commanders need to place garrisons and build structures, letting the team establish forward spawns without waiting on supply truck runs. At Level 7 they unlock the M2A1-7 flamethrower — devastating in tunnels, bunkers and trenches, and the closest thing the US side has to an area-denial weapon in close quarters.
Weapons: M16A1, M1911A1, M2A1-7, Model 77E, M16A1-M203 · Equipment: supplies, binoculars, blow torch, ammo box
Machine Gunner (Infantry Unit)
The Machine Gunner suppresses and holds ground with the M60 — the US squad's heavy firepower. Expect to lock down sightlines, pin enemy squads and defend cap points. The M60 chews through ammo, so stay near your Rifleman's ammo box.
The Machine Gunner owns the sightlines. The M60's sustained automatic fire pins whole enemy squads in the jungle, stops pushes dead at the edge of a cap point, and covers the Riflemen as they advance. The trade-off is real: the M60 is heavy, slow to deploy, and burns ammo faster than anything else in the US arsenal — a Machine Gunner without a Rifleman's ammo box nearby goes quiet fast. Use Claymores to protect your flank while you're belt-fed and exposed.
Weapons: M60, M1911A1, Model 77E · Lethal: M61 frags, M18 Claymores
US Army — Armour, Recon, Mortar & Helicopter
Tank Commander & Crewman (Armour Unit)
The Armour unit crew the team's armoured vehicles — most notably the M48 Patton main battle tank. The Tank Commander operates the turret and directs the tank; the Crewman drives and maintains it. Armour dominates open ground but is vulnerable to NVA RPG-02s, anti-tank mines and T-54s, so tanks need infantry support.
The Armour unit crews the M48 Patton — the US main battle tank — and the two-man crew (Tank Commander + Crewman) is its whole support system. The Tank Commander reads the battlefield from the turret, calls targets and coordinates with infantry; the Crewman drives, maintains and keeps the 90mm gun fed. Armour dominates open terrain and can decide a match on maps like Đắk Tô Airfield, but a tank without infantry screening is a target: NVA RPG-02s, anti-tank mines and T-54s all punish armour that pushes alone.
Weapons: M1911A1, M16A1 (Level 3), M16A1 Bayonet, Model 77E · Equipment: binoculars, blow torch
Spotter & Sniper (Recon Unit)
The two-man Recon unit works behind enemy lines. The Spotter carries binoculars, marks targets and drops a flanking outpost, while the Sniper delivers precision fire with the M40 bolt-action rifle. Recon's job is intelligence — spotting garrisons, calling out enemy movements and disrupting supply lines — more than racking up kills.
Recon is the team's eyes behind enemy lines. The two-man unit works as a pair: the Spotter calls targets, marks enemy garrisons and drops a flanking outpost that keeps the pair supplied, while the Sniper's M40 delivers precision kills at range. Done well, recon dismantles the enemy's spawn network and feeds the Commander target information that wins sectors. Done badly — camping for kills — it's the most wasted slot on the team.
Spotter weapons: M16A1, M1911A1, M79 (Level 10) · Sniper weapons: M40, M1911A1, Model 77E · Equipment: binoculars, field pad, flares, ammo box
Observer, Support & Gunner (Mortar Squad)
The three-man Mortar Squad is the team's mobile artillery. The Gunner places and fires the mortar, the Observer calls targets with binoculars and the field pad, and the Support carries the supplies and ammo the mortar needs. A well-run mortar squad can break up an enemy attack before it reaches the cap point.
Observer weapons: M16A1, M1911A1, M79 (Level 10) · Support weapons: M16A1, M1911A1 · Gunner weapons: M16A1, M1911A1 · Equipment: mortar, mortar pit, supplies, explosive ammo box, hammer, wrench
Logistics Officer & Pilot (Helicopter Unit — US only)
Vietnam's signature new unit. The Pilot flies transport and supply helicopters, and the Logistics Officer manages the unit's operations — the helicopters deliver squad insertion, supply drops and mobile spawns that no other faction can match. The NVA has no helicopter unit; their answer is tunnels.
Weapons: M1911A1, M16A1 (Level 3), M16A1 Bayonet, Model 77E · Equipment: binoculars, field pad
Update 2.0 expands the US faction into the US & Allies force when the Australian and New Zealand Army Corps (ANZAC) join the battle — the US & Allies Barracks will feature US and ANZAC weaponry side by side, with new ANZAC options like the L1A1 SLR and F1 SMG for these roles. Navy SEALs and Green Berets join the force with Update 3.0.
North Vietnamese Army — All Roles
The NVA mirrors the US roster with 15 roles — every unit except Helicopter, which is US-only. The NVA arsenal trades the M16 for the Type 56 (AK-pattern) rifle and the K50M submachine gun, with the RPD machine gun, RPG-02 rocket launcher and LPO-50 flamethrower as the standout weapons. Instead of helicopters, the NVA build tunnel networks to move around the map undetected.
NVA Commander (Command Unit)
Identical responsibility to the US Commander — resource management, the chain of command and team-wide abilities — with an NVA loadout. The Commander also coordinates the tunnel network, which acts as the NVA's rapid transport system.
The NVA Commander carries the same strategic responsibility as their US counterpart — resources, abilities and the chain of command — but with one extra layer: the tunnel network. NVA Commanders place and connect tunnels from the tactical map, building the underground highway that lets the whole team move undetected. A Commander who plans tunnels well is why the US suddenly finds itself surrounded; one who ignores them is why the NVA never leaves its half of the map.
Weapons: Type 54 pistol, Type 56 bayonet, K50M (Level 3), Type 53 bayonet (Level 4), IZH 58 (Level 7) · Equipment: RDG-1 grenades, Chi Com signal pistol, field pad, binoculars
NVA Squad Leader (Infantry Unit)
Places NVA garrisons and outposts, connects tunnels and keeps the squad coordinated. The tunnel network makes NVA squad leaders uniquely powerful at setting up flanks — a good NVA SL is the reason a squad appears behind the US line.
NVA Squad Leaders are the operators of the tunnel game. They place tunnel entrances, connect them into the network, and use them to move their squad behind the US line for ambushes that the enemy never sees coming. Combined with the K50M submachine gun — ideal for the tight confines of tunnels and jungle — the NVA SL turns every fight into a question of where the squad will appear next.
Weapons: Type 54, Type 56 bayonet, K50M, Type 53 bayonet, IZH 58 · Equipment: ammo boxes, HE ammo boxes, field pad, binoculars, hammer
NVA Rifleman, Grenadier, Engineer, Medic, Specialist & Machine Gunner (Infantry Unit)
The NVA infantry roles mirror the US structure with NVA-specific weapons and equipment:
- Rifleman — Type 56 (AK), Type 53 rifle, Type 53 N4 rifle launcher (Level 10); carries the squad ammo box.
- Grenadier — RPG-02 rocket launcher and Type 53 N4 launcher at Level 1; the NVA's tank-killer and demolition role, with TM-46 AT mines and satchel charges.
- Engineer — builds NVA structures, nodes and fortifications; carries the blow torch, wrench and demolition gear.
- Medic — revives and heals with the standard NVA rifle loadout.
- Specialist — supplies and anti-armour; unlocks the LPO-50 flamethrower at Level 7, a devastating close-quarters weapon in tunnels and bunkers.
- Machine Gunner — the RPD light machine gun is the NVA's answer to the M60; unlocks the K50M drum version at Level 6.
NVA Armour, Recon & Mortar (Support Units)
- Tank Commander & Crewman — crew the T-54, the NVA's 100mm main battle tank, plus NVA transport. The T-54 matches the M48 Patton in the tank duel.
- Spotter & Sniper — the NVA sniper carries the Type 53 PU scoped bolt-action rifle; the spotter coordinates tunnel-based recon flanks.
- Observer, Support & Gunner — the NVA mortar squad works identically to the US version, delivering indirect fire with NVA weapons.
Which Class Should You Pick?
New to Hell Let Loose: Vietnam and wondering which of the Hell Let Loose Vietnam classes to pick first? Start with the Rifleman — simple loadout, ammo box value, no special responsibility. Once you understand capture mechanics and spawns, move to Squad Leader (needs the tutorial) to learn the command layer, or Medic if you want an immediately valuable support role.
Returning Hell Let Loose veterans comparing the new Hell Let Loose Vietnam classes to the WWII roster should try the roles that define the Vietnam setting: Pilot or Logistics Officer on the US side for helicopter insertions, or NVA Grenadier and Squad Leader to play the tunnel game. The Machine Gunner and Sniper remain the most direct combat roles on both factions.
Earning XP & Leveling Up Fast
Every class earns XP through the actions you perform while playing it — kills, captures and objective work all count, but so do the support actions that win matches: reviving teammates, building fortifications, dropping supplies and keeping ammo boxes flowing. Class XP is role-specific: it levels the class you are currently playing toward its next loadout unlock, so the fastest way to unlock a role's best gear is to keep playing that role and doing its job.
Community reports since launch highlight a quick method for grinding class XP in any role — a roughly two-minute routine built around stacking the XP-generating actions above near the frontline instead of hunting kills across the map. Players using it report noticeably faster loadout unlocks, though the exact routine varies between reports. If your goal is a specific high-level loadout, focus on the actions that role performs best and stick with it.
> Related Guides
📬 Have feedback or corrections? Contact us — Sources: Steam, Official Site